|
Cyanotype printing sounds somewhat exotic, but it is actually really accessible and easy to do. You can buy ready made papers which makes the process really simple when you want to do a little bit of experimenting or you want to have some arty fun with your kids. I had seen some Cyanotype prints before and was enchanted by the deep blue colour and the dreamy effects that people achieved. I knew that I wanted to play with flowers and leaves and so I gathered an assortment and got playing!  The paper that you use is light sensitive and so you have to work fairly quickly, but I think that I felt the pressure from working with photo emulsion in the past and actually I could have taken a bit more time with this. You really can use anything to create impressions on the paper. I used flowers and feathers and also cut out a moth shape, but I could have used lace, crystals, seeds, or any other interesting shapes/patterns. Once you are happy with your arrangement it’s good to cover with some glass to keep it all in place and then put it in the sunshine. The first one I tried didn’t work at all as I didn’t leave for long enough! It seems to take an average of a couple of minutes, but you can also watch the paper get pale and then take it inside again.  The above image is what you see when you first take off your objects which looks really lovely, but you have to soak in water for a minute which then produces the below effect. You need to leave them flat to dry and then you can hang them and press them in a book. I actually ironed mine and that was fine - it didn’t make any difference to the image. You are still left with a slightly wavy paper but I think it is quite charming. The process is fast and satisfying allowing for plenty of variations and creativity. I bought some papers that were intended for kids crafts on Amazon for around £8 but you can buy more expensive versions and also kits in order to make your own papers or fabrics. I have ordered myself some of the chemicals to make my own as I am thinking about making some fairy kits to sell for Christmas! I think the idea has potential, but I’m trying to not get too side tracked by the shiny new thing syndrome! 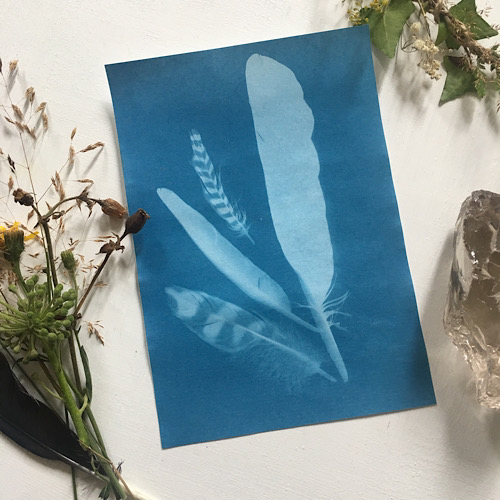 I had a nice variety of foliage left afterwards and so I made myself a mini wreath. I think it looks really cute and now have it hanging on my dresser. I’m getting myself prepped for autumn vibes. 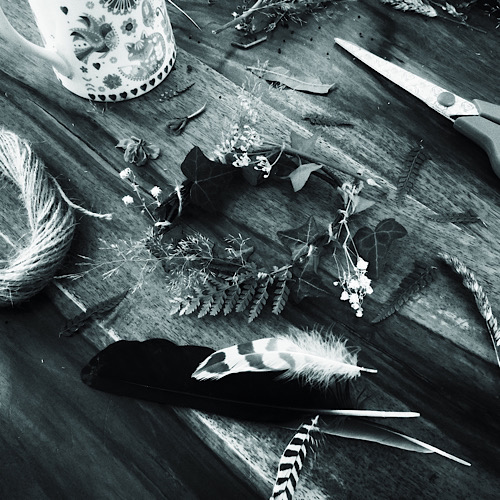 It was pretty simple to do! Ivy makes a really good circular base and then you can use some string to twist around and add extra bits onto. Voila! Let me know if you have a go at either of these things - I’d love to see your results. Have a magical time. 💕😊✨ 
0 Comments
Fancy learning how to make magical candles with the minimum of fuss and stuff? You have come to the right place my friend! I like to keep things simple and when trying something new I don’t want to have to buy loads of expensive stuff either. 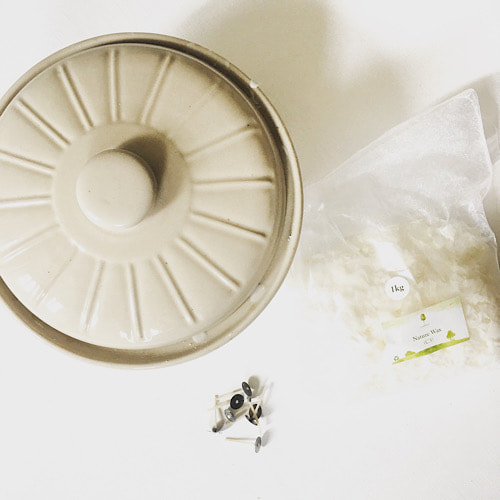 I went to a charity shop to find a second hand saucepan that I could melt that wax in as years of working as a waitress taught me that getting wax of anything was a job and a half. I wanted something that I could dedicate to the task and I didn’t want to buy something fancy and new. Whilst chatting to a sales lady about what I was looking for she told me that she had used a casserole dish for making candles and would use the heat in that was left in the oven from baking to melt her wax with.  For the wax I bought some soy wax on eBay and some candle wicks. Now, I didn’t realise quite how short these ones would be so pay attention to length when ordering! The ones I have are really good for shallow dishes though and they burn quite nicely that way. 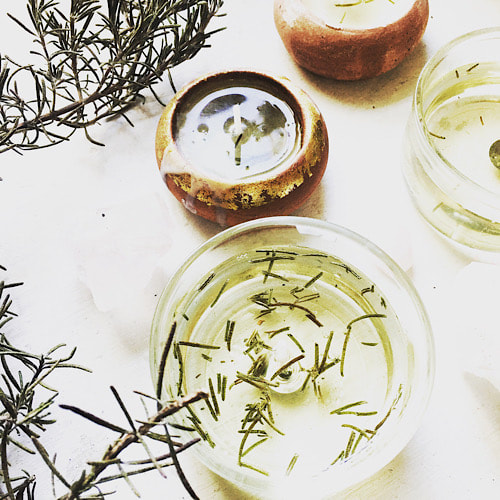 Anyway, I used some glass dishes that originally had some yummy chocolate dessert in! They are a fab size for candles and eating a few puddings certainly wouldn’t be the worst way to get started. I poured in some of the flakes into the dish and left the heat on low. When some of the wax is melted you can just dip the end of the wick base into the wax and then use that to stick it into your jar or whatever you are using. You can use essential oils to fragrance your candles and so this is a chance to get creative and make some magical blends! I had some rosemary drying in my cottage and so I put that in with the melting oil as well as 15 drops of lavender. You can use dried flowers and even crystals to decorate your candles and make them more intentional if you want them for spell work or simply to mark the season. Once all the wax is melted it’s a good idea to wait for a few minutes before pouring because if it’s too hot it will melt the wax you used to fix the wick with and it can then start to go a bit wonky. Nobody likes a wonky wick. To pour the wax into the jars you can use a simple metal ladle to scoop it up. I have a dedicated candle ladle now because wax is hard to get off things and less scraping is good. If you bought longer wicks then you will need a system to keep the wick in place while the wax is setting. I have seen people recommend pegs for this, but maybe a couple of pencils and some blue tack or tape would work too. I’m sure there is an official item that would do the job, but when starting I think it’s good to use what you already have. 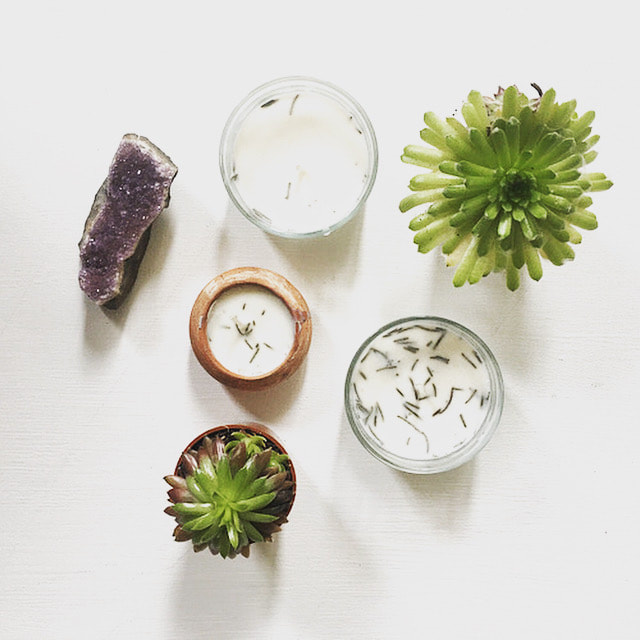 |
Archives
December 2020
|
 RSS Feed
