|
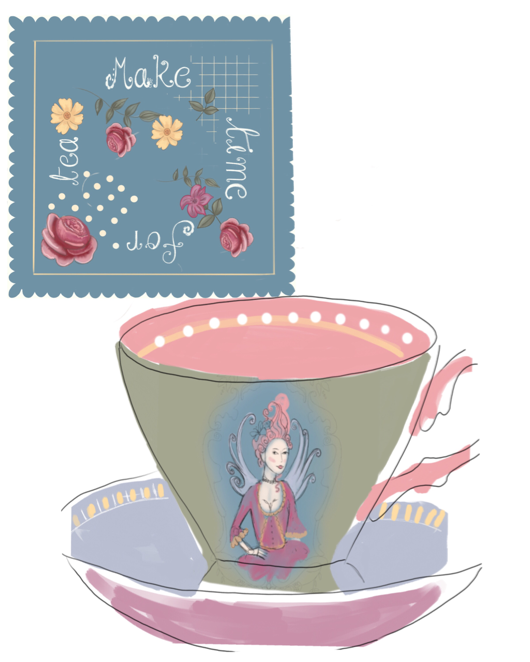
The talent search has officially begun and all candidates have received a full brief and assignment. We had 19 pages of inspiration and information to read through with a real person called Sunny Spindler to create a product for . Sunny is the owner of a pastry shop and she is looking to expand the business to incorporate a tea room. It's really exciting and the brief requires us to design a tea cup, saucer and napkin. The brief is also surprisingly open, with directions to create in 'your own style' and create something that you would love yourself. You are also able to do it in an editorial style, or children's book style or whatever is your 'thing'. The idea is to show of what you love and what you can do. So, I have been doing a lot of brainstorming! I've been pinning like a crazy lady and have filled my head with potentials and possibilities! I am really feeling a big Rococo influence at the moment as I saw in the photos on the brief that Sunny's shop already had some Rococo elements. This is something that I like because of the organic shapes and patterns and the pretty pastel colours. I also saw on the wall the quote 'every cake tells a story' which has started my head spinning in all directions. It's a little overwhelming thinking about all the different ways that you can tackle this, especially when you consider the three different elements of teacup, saucer and napkin. I think it's important that the three pieces work in harmony together, and all help to tell a story. This is where I have got to so far.... I was working on the napkin last night, but I don't think that it actually adds to the fairy on the teacup.
I am am now thinking of writing a story about the Rococo fairy, or having the words 'Let them eat cake', or "Once upon a time' on the napkin. It's challenging for me working out how to present the items so that the whole thing is visually appealing and all the elements are clear to see. Eeeeek! It's a whole lot to think about! I think I just need to not obsess too much and just let it come. It's funny how when you take your mind off something the idea can just pop in. Anyway, thanks for reading! Any thoughts or advice would be much appreciated. I have two weeks to get this sorted - wish me luck!
0 Comments
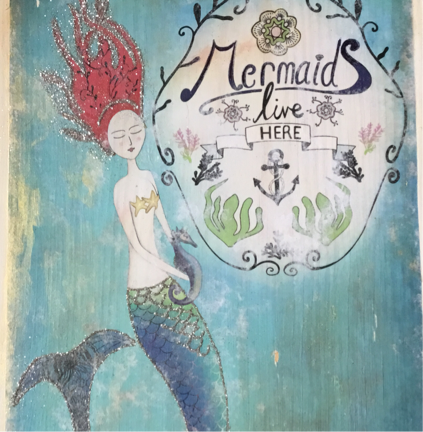
It's been pretty busy recently and I have been getting my work ready for a craft fair this Sunday. Thankfully, I have had some time this week to really crack into things and I am actually feeling organised! Well kind off! I am still waiting for some cello bags to arrive so that I can pack up my cards.... I'm pretty sure they will arrive on time! Anyway, it will be good to get my work out there again! The last public 'showing' was the Jingle Belles event I did with some other local artists and that was before Christmas! It's not easy doing my art thing with Tabitha, when my husband is busy selling his raw chocolate at events and markets on a regular basis. I also sold my car earlier this year to save money and although we cope pretty well with one car, it's really more Darren's. I'm actually a bit scared to drive it, as its bigger than what I'm used to! So I would like to get another car sometime, or work out a way for us both to able to have stalls at events and manage childcare. I'm not complaining though! I feel so lucky to have had this time with Tabitha and managed to develop my art and my product range. I'm delighted to have learned a new skill in transferring images to wood and love the effect. It's great to have more diversity in what I can sell and I feel that my vision is starting to come together! I am much more business focused, or at least market aware nowadays. I think that before I have just gone into my own bubble and created whatever I was guided to create. Now I try to think 'what do people want?' 'What will look good in their home' 'how can I create an emotion in someone?' So it will be interesting to actually see people's reactions to my work and try to learn and grow from there. I need to get myself some Christmas fairs for this year and start to think about a plan for next year! It's really exciting though and I'm looking forward to interacting with more people. After the craft show on Sunday, I am going to have a little break from making stuff as I want to sort out my wardrobe! I'm not sure why but I'm just not feeling the love for my clothes at the moment and could do with a style makeover! So, I shall eBay what I don't want anymore and then go shopping with any money raised. Tabitha also has lots of clothes that she doesn't wear too, so it will feel good to have a sort out. I actually love doing this as it feels really good to make space and keep energy moving. Our house is too tiny to horde stuff! Creating work and storing it is also a juggling act!
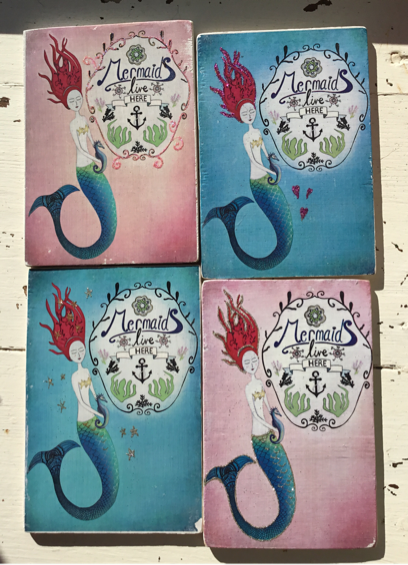
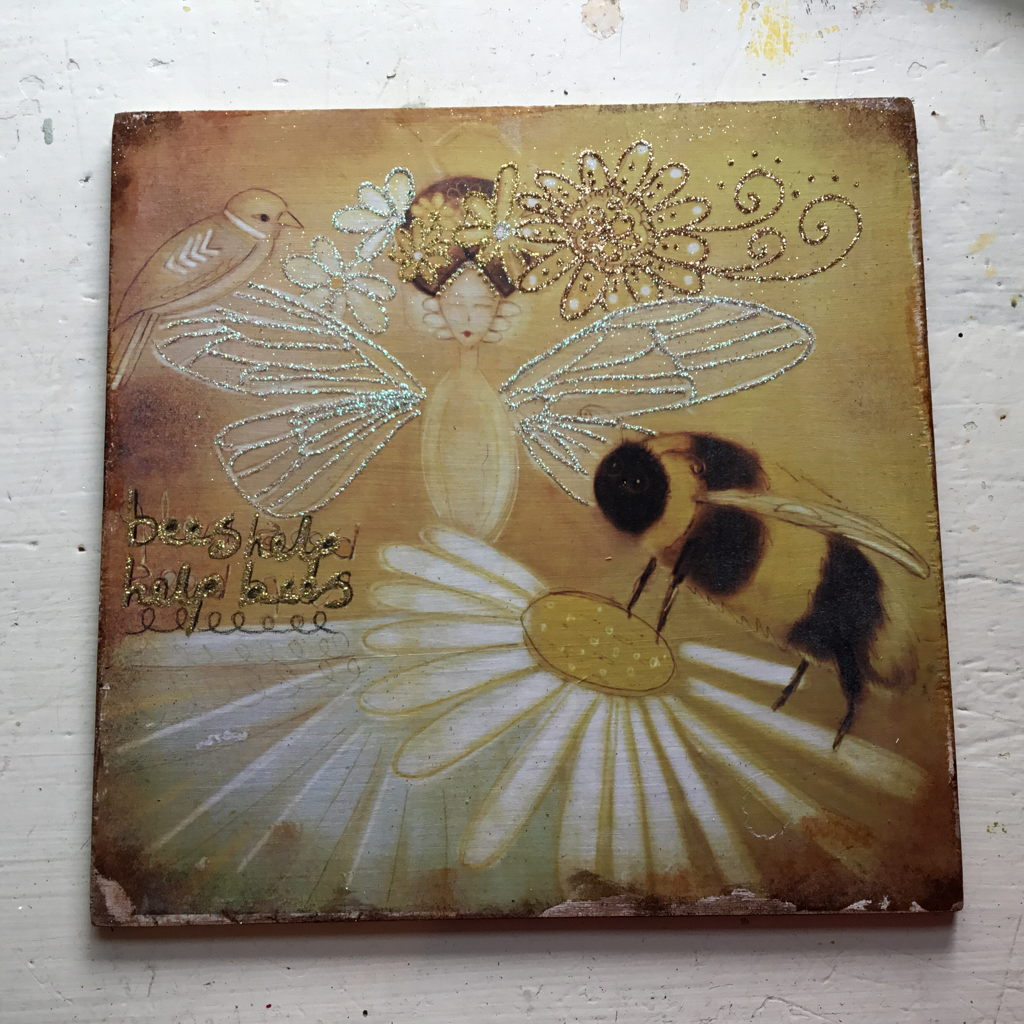
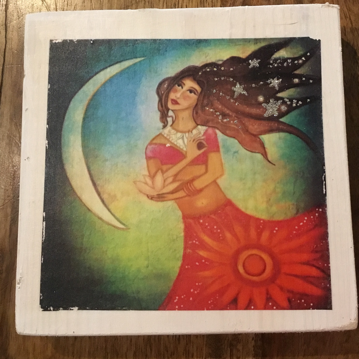
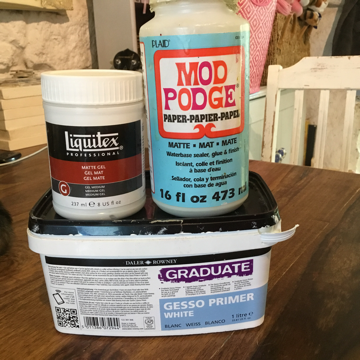
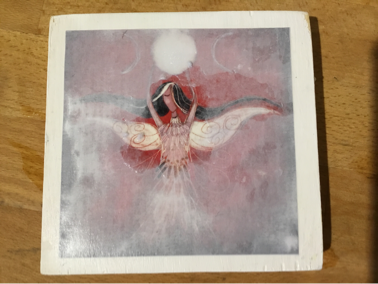
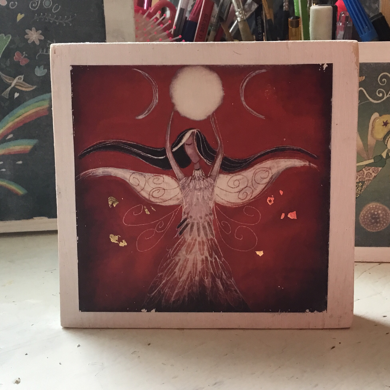
Anyway, I'd love to see you at Sennen craft market on Sunday 24th! Thanks for reading and being part of my magical journey! Best wishes and fairy kisses. Jacs xxx 💕🌟✨🌸😀 This is such a fun thing to do and it has a lot of creative scope. I have only been playing about with transferring my images to wood, but you could get pictures of friends and family to make gorgeous gifts and personalised presents. Or you could even transfer images of flowers (or whatever you dream of) onto your furniture to really give it a personal and magical touch. This is just the beginning of the journey! I have learned a lot already and it is definitely a matter of practice makes perfect, but I think I can point you in the right direction and alleviate any concerns. There is something a little mystical about this process and the best thing to do is jump right in! Don't be scared! Visualise your project So first things first. You need to decide what you want to create and what size. Supplies You will need to get your image laser printed.( I've been getting my prints from here and they will post which makes things really easy - http://www.compuprintcornwall.co.uk) NOTE: the transfer process reverses the image, so remember to mirror your image before getting it printed. I bought my wood from Solo supplies. I got a couple of lengths at different widths to fit my images. Prep My husband (thanks Darren) cut them down to size and then I sanded them to get rid of the rough edges. I then primed each side using Gesso, but don't worry if you don't have this. You can leave the wood as it is, which saves a job, but you lose some of the brightness of the image. You can use other paints to prime your wood, so take a look in your shed to see if you have any white paint leftover. This will work just fine (I watched a YouTube video where emulsion and gloss were both tried and they both worked out fine) Supplies 2/magic goo So at this stage, you have a lovely piece of wood at the perfect size for your picture. Trim of any excess paper from your picture - this will help you to place it in the right place easier. You might want to make light pencil marks (really light! I've had to paint over pencil marks as I wasn't able to erase them) to help you place your image. The magic goo that I use is called Liquitex. There are other things out there, so feel free to research, but this stuff works and you can get a decent sized pot of it for under a tenner. Slather the goo on and put your picture on top, with the image pressing onto the wood like it's the filling in a sandwich. It's okay to move the picture around a little bit at the stage if you need to centre it better. You can then use a loyalty card or credit card to remove air bubbles, by lightly and slowly sweeping from from the centre of the picture to the edges. This is a really important stage. Don't be too heavy handed as you can tear the softened paper. The bubbles need to go though and the paper has to be in perfect contact with the wood in order to transfer properly. Don't touch it! Once you have got all the air bubbles out you need to leave it alone to dry. I have read people's recommendations vary from leaving it from 2-8 hours. I don't know what's best, so I leave it overnight! The magic begins! This is where things get exciting (and then a little boring!) Get a bowl of water and wet your fingers. Start doing circular movements in the middle of your picture. It can take a little while before the paper starts to come away, but it's a bit like removing wallpaper, in that once you have a section coming off, it gets easier. I then start pushing the paper off in a rolling motion (this seems to work quite well, but do what works for you). I have experimented with really soaking the paper first before trying to remove it and also just using a little bit of water. I have also tried using rags as well as my fingers. It all works. You can actually rub quite hard, but you do want to be a little cautious so as not to remove the image. I have been working really lightly and still lost some of the picture and so I think that actually this probably was a result of not getting the bubbles out properly in the early stages. I like to use my fingers as you can really feel what is going on! You will get to a stage where it looks like all the paper has come off WELL DONE! Blog the picture with a towel and make yourself a cup of tea. You will see that as it dries you will be able to see the fuzzy whiteness of the paper appearing. You will need to repeat the process again up to 8 (!) times! The first time is the most time consuming however and you will want to use your fingers so that you can really feel the paper come off. This is important as you might not be able to see it at this stage. You could use a hair dryer to speed this process up if you are super keen. If you want your picture to look a little aged then you can use your finger nails to scrape a bit of the picture away at the edges. Finishing up and troubleshooting
To finish your piece you need some PVA glue of Mod Podge to seal it in and also get rid of the last bit of whiteness. NOTE: even after rubbing away for ages you will be left with a haze, but this will go with the PVA. Just spread a nice even coat over the picture and allow to dry. If it looks as if you still haven't got rid of the paper then it's not too late to wash the glue off and have another rub. Don't leave it too late though or it will have done its job and sealed the picture. At this stage you might want to use glitter, gold leaf, distress inks or even paint to personalise and decorate the picture even further. I think that this is really exciting as you could decoupage on other images, add some more gesso and carry on painting.... There really is a lot of potential and the effect is pretty fabulous. I just love seeing my work looking so chinky and solid! I will get some more pictures to help illustrate the process better and I'm also going to do a video tutorial which should be fun! I will take you through the process so you can see my techniques! Feel free to ask any questions in the meantime however and please share your projects with me! I'd love to see your creations! Best wishes and fairy kisses xxx Jacs xxx |
Archives
December 2020
|



 RSS Feed
