|
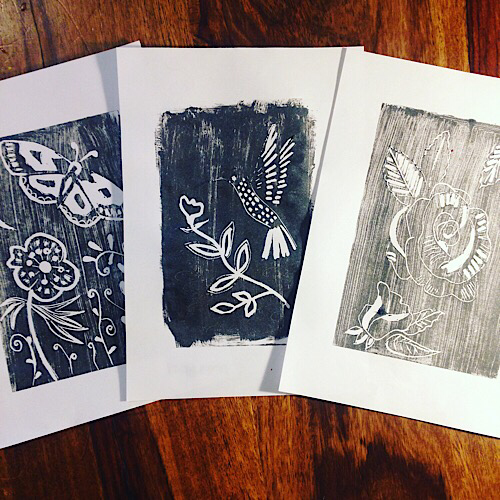
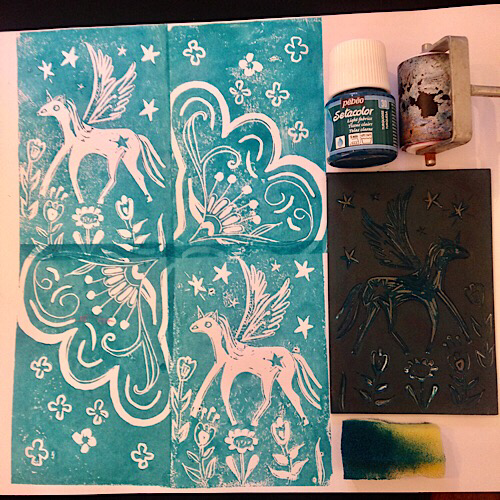
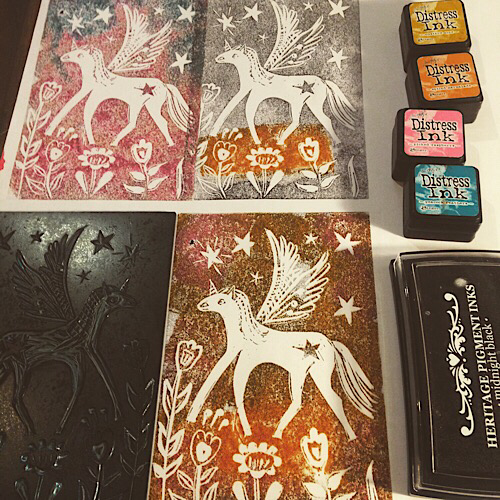
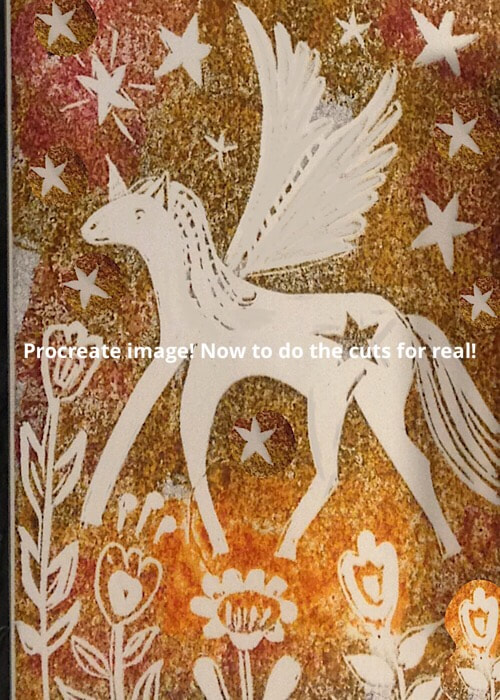
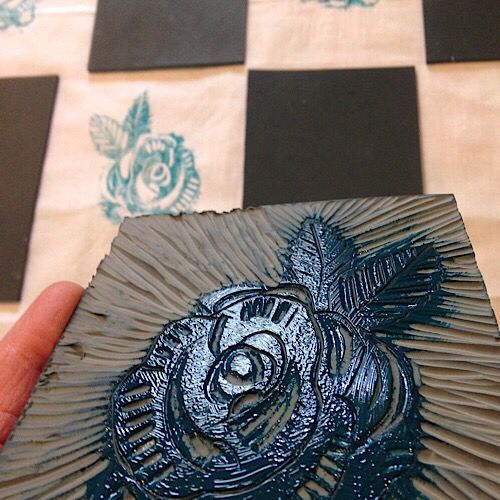
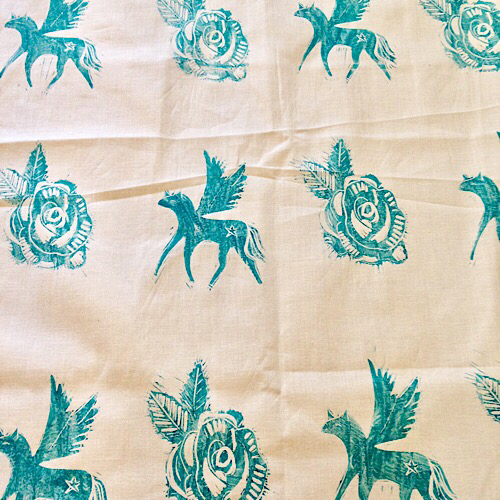
First experiments using a sponge brush to put some speedball ink down! I've ordered a sponge roller which I think will work better, but my goal is to print on textiles so I really need an ink/paint that is colourfast and also really bright! I need to tweak my lino cuts slightly, but I'm pretty happy with the initial results! I then tried with some turquoise Pebeo setacolour fabric paint and applied it by dabbing it on with a sponge. The effect was a little mottled, but it was pretty good coverage. I used a t-shirt underneath instead of a sponge mat. I'm still not sure about my Lino cuts.... I need to tweak them a little. I want them to all work together as a pattern, so I think that I am just going to have to play and see what works well together. I will just use some normal ink next, so that I can work out placement, as the fabric paint comes in a really tiny bottle and I don't want to use it all up! I experimented with some distress inks which was fun and mainly to refine the print. I had the brainwave of importing the image into Procreate so I could play with image without making irreversible cuts! i also tried importing all my lino cuts into Procreate so that I could get a feel for how they might work as a pattern. I felt that I needed to simplify and so I started to cut away more lino to get bolder designs. I’ve been inspired by looking at Pinterest and immersing myself in lino prints and the aesthetics of the medium. The use of two colours particularly appealed to me and so I had to give that a go. I traced the outline of the unicorn and then created another linocut by cutting away the opposite space. For example, you can see how the unicorn has been dug out in the first image, but the second image has everything else removed. i was a lot happier with the second image of the unicorn and I thought that this would create a better motif for a pattern. I modified my rose image so that it was more graphic and then decided to print onto a tea towel using the Pebeo Setacolour fabric paint. I applied the paint using a sponge brush as my roller still hadn’t turned up and I couldn’t wait any longer! I laid my lino cuts on the fabric to get an idea of how many would fit and then quickly decided on an alternating pattern. I placed another tea towel underneath so that there was a little ‘give’ and pressed the lino down with a hard roller. The effect was really satisfying and I didn’t need to use much ink either to do what I wanted. What next?
Well! I am waiting for some different inks to arrive. One for fabric and one for paper. I have some cute little eco notebooks that I want to print on and I am excited to give that a try. In the meantime I will heat set the tea towel and give it to myself as a little present so that I can also see how it performs as a tea towel and how well it washes. I have some more pieces of lino that I haven’t used yet and so I will consider what to put on them. Anyway, it feels like a productive week and I am definitely a lino enthusiast! I love having the control over printing my work. It’s a very different beast to screen printing even though some of the results can be very similar. I’m not sure I could handle carving up an a4 sized piece of lino, but then again.....it could be fun! Hope that some of this is helpful! There is also an amazing lino group on Facebook called linocut friends which is searchable and so you can search for words like ‘paper’ and ‘ink’ to find out a wealth of information. Thanks for reading! Let me know if you have tried lino cutting and you have any tips!
0 Comments
Leave a Reply. |
Archives
December 2020
|

 RSS Feed
