 I originally thought I was going to be writing a blog post about screen printing with a really minimal set up. About how simple it is and that you really don’t need loads of fancy equipment to get a decent screen. Well, that still kind of stands, but it wasn’t as straightforward as I hoped and so I am writing this to potentially save you from making the same mistakes. This of course was not my first rodeo. I’d done this before and so I went into things pretty confident and very excited to get my screen and start printing. I loved my design and had visions of it in different colours and couldn’t wait to get it out there. The first variable from my previous screens was the photo emulsion. You can buy photo emulsion pre sensitised or with a sensitiser to mix in and the pre mixed version I had used before was unavailable, so I bought the Jacquard with Diazo sensitiser. I mixed it up according to the instructions, coated my screen and left it in a large cardboard box to dry. At the time I thought that was quite genius. Who needed a dark room when you had a cardboard box? 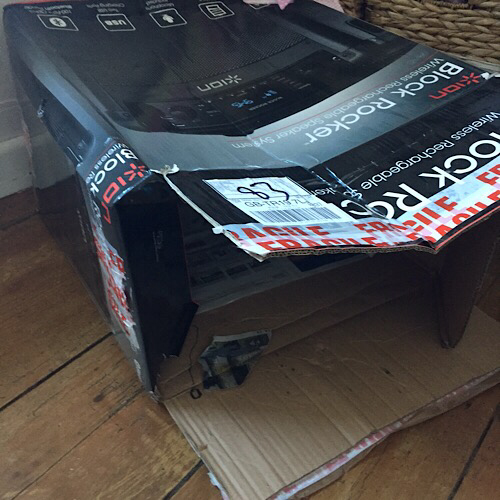 Dark room in a box! 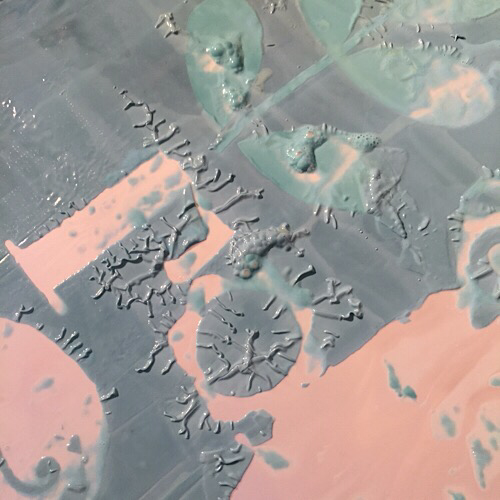 This is what happens when you accidentally use the hot water to wash of your screen ? It’s a funny process as you have to coat the screen in a pretty dark room and it’s not easy to see how evenly you are doing things. There is this sense of urgency to work quickly and also not get the stuff on your hands. You are supposed to wear gloves, but I didn’t. I always think ‘I won’t get any on me’ but I do and it’s pretty yucky. My hands are very dry now, despite LOTS of hand cream. If you care about such things then wear gloves. Anyway. I left the screen drying in the dark for two days. I kept it dark as dark could be and when I looked at the screen it was full of drip marks where the emulsion had got heavy on the screen and dried. It didn’t look good but I tried to expose the screen anyway. 20 minutes under a lamp I washed it in the shower and all the emulsion started coming away in an irregular way due to all the drips. The emulsion washed off pretty easy so I just started again. I coated the screen again, but this time I thought I would use the hair dryer on it to give it a head start on drying. That way I wouldn’t have the drips, right? 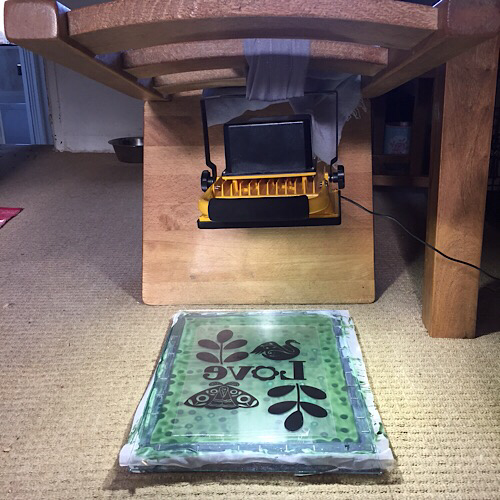 My improvised exposure set up using a dining room chair. You can see all the dried drip spots on the screen. Well, yes! That worked. It dried pretty smooth. I exposed the screen again for 20 minutes (which is what I had successfully done before) but this time the emulsion went yuk (technical term) and so I abandoned ship. I cut the screen out and re-silked it. I did a bit of research into Jacquard emulsion then and worked out that I had an underexposed screen. I did the same thing again - hairdryer with warm air - in a cardboard box. I exposed the screen for 40 minutes, but it was still underexposed. Aaaahhhhh! I did some more research. I found that hot air might have been part of the problem. Ventilation/air circulation another part. I had to make some changes to my set up. This time I used a hairdryer - only on cool and only for a little while. I put the screen away, but kept checking on it at intervals and scraped off any excess emulsion that threatened to pool in drips again. It took about 24 hours to dry sufficiently. So the next question was how long to expose? There was a good list of exposure times on the Jacquard site, but I didn’t know what strength my bulb was. It had worked before, so why was it taking so long now? Would I have to expose it for an hour? There was one time that looked very appealing though. Direct sunlight - 30 seconds. It was very sunny and a 30 second result sounded a lot more tempting than waiting an hour for it under a lamp. So that’s what I did. I had my suspicions about the emulsion - I wondered if I had a dodgy batch and was ready to buy another pot. This was my last attempt with this one. I exposed it for a minute under the bright September sunshine. It looked good when I got it to the bathroom. I used the jet part of the shower and covered some holes to get extra power. I was a little worried that I’d over exposed it this time, but it was good. The design came through really well and I finally had my screen. I learned a lot through the process. I got better at stretching my own screens and also learned about how much light is okay in a ‘dark room’. Working with photo emulsion is a bit tricky, but it was great to get used to it and demystify the process. Next time - I’m hoping it will be a lot smoother!  I got pretty handy with my staple gun by the end of this! 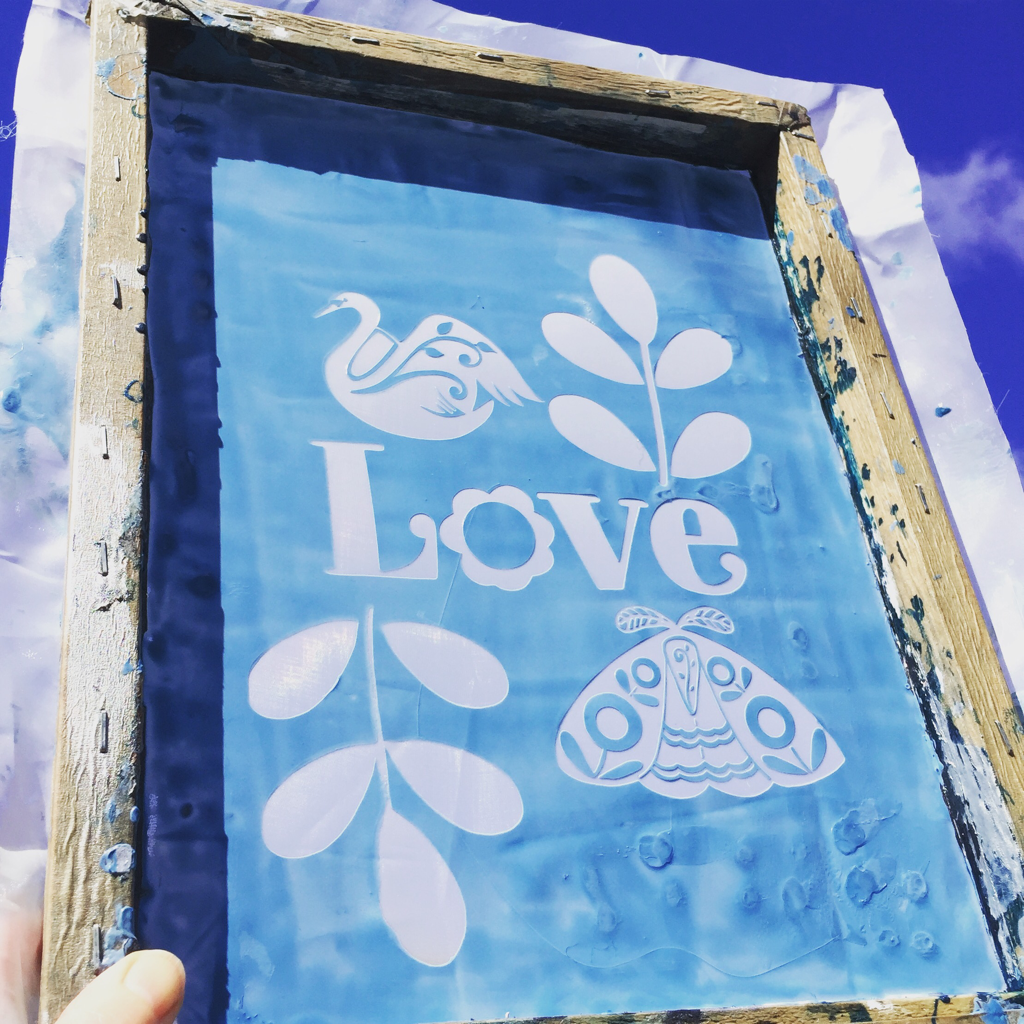 My fresh screen and the lovely blue sky Top tips!
Wear gloves - the photo emulsion gets everywhere. Make sure the room is well ventilated as you start to feel a little ‘heady’ otherwise. Put your drying screen somewhere where the air can get to it. Check back on it regularly to see how it’s drying. Go to the manufacturers website and read all the info - there is a lot more on the website than on the pot! Don’t use heat settings on hairdryers or when washing the emulsion off!
0 Comments
Leave a Reply. |
Archives
December 2020
|
 RSS Feed
